Launching Your Website? Crucial Pre-Launch Steps To Take
There are some affiliate links below, but they are all products I highly recommend. For more info, view my disclosure here.
Launching a new website is an exciting yet challenging project requiring careful planning and preparation. Before you officially debut your site to the public, there are a number of important steps to take and boxes to check to ensure everything is ready to go.
Rushing into launching before you’re ready can lead to a sloppy start filled with technical issues, gaps in information, lack of promotion, and missed optimization opportunities.
Follow this comprehensive pre-launch checklist to set your new site up for success from day one. We’ll cover choosing your platform, establishing your brand voice and style, creating crucial pages, handling technical details, building promotion, and final launch preparations.
Taking the time to work through these pre-launch steps will provide a solid foundation for your site to thrive and grow your audience after opening its digital doors. Think of this as your blogging blueprint to get your new site ready for a stellar welcome into the world!
Sign up for exclusive access to our resource library, including this branding guide!
Set Up Your Website Platform
When it comes to choosing a website platform, WordPress is a popular choice for many reasons. WordPress offers both self-hosted WordPress.org which requires web hosting, or the free WordPress.com option which handles the hosting for you.
For the most control and customization, we recommend going the self-hosted WordPress.org route. This involves purchasing a domain name of your choice along with web hosting through a provider like Hostinger.
I recommend buying your domain name through Namecheap as they tend to offer the best price on domain names. Stuck on what domain name to pick? Here’s help.
Once you have your domain and web hosting established, you can have the host install WordPress. The installation process is straightforward with most hosts providing auto-installers or one-click WordPress installation options.
From there, you’ll need to configure key WordPress settings like permalinks (set to Post name for optimal SEO), categories, plugins and pages. You’ll also want to set up an administrative account to manage your site.

One of the reasons I like Hostinger is because it’s affordable and includes free email accounts. I was on more expensive hosting that charged extra for that feature, and it’s nice to have it without an upcharge.
Select Your Theme and Plugins
The possibilities are endless when it comes to customizing your site with different WordPress themes. I highly recommend Kadence WordPress theme. The free theme is packed with tons of features and the helpful starter sites offer a way to get your site up and running quickly. Here’s a list of essential plugins to grow your site.
Adding an email signup form or newsletter opt-in box is also essential for building your audience. This allows visitors to subscribe to receive your latest content right in their inbox. Email lists are something a lot of people put off until down the road, but it helps having everything set up right away so new readers can sign up right away.
Add Key Pages and Legal Policies
In addition to your blog posts and about page, there are some other important pages to have in place prior to launch.
You’ll want to make it easy for readers to contact you or follow you on social media. You can create a dedicated Contact page with your email address, contact form, and links to all your social profiles, or you can add this information to your About page.
Some other helpful pages to consider are a resources or recommendations page if you want to highlight products or services. An FAQ page answering common reader questions can be useful too.
On the legal side, there are a few policies you must publish on your site. These can all fall on one page with sections for each:
- Terms of Service – Outlines the rules for using your site and content.
- Privacy Policy – Explains how you handle data like cookies and protect visitor privacy.
- Cookie Policy – Provides details on the cookies the site uses.
While not thrilling to create, these legal pages protect you and establish important site policies for users. There are various free online tools and generators that help craft compliant legal pages, plus WordPress offers a free Privacy Policy generator in Settings> Privacy Policy.

Taking the time to add these types of pages provides a well-rounded site for visitors and covers you legally before launch. Don’t wait until the last minute to create essential pages and policies.
Create Your Brand Visuals and Voice
A key part of your pre-launch preparations should focus on defining your website’s brand, visually and tonally. Canva is great for creating brand kits to streamline your visuals. Here’s a free brand kit template you can customize to fit your vision.
On the visual side, you’ll want to create a logo that represents your site’s personality and purpose. The logo will appear on your site, social media profiles, and any promotional materials.
Select an appealing color palette and font scheme to carry across your site and social media channels. Visual cohesion is key. Also create a favicon (that little icon that appears in the browser tabs up top.
You’ll need to spend time honing your site’s voice and point of view. Craft an About page that gives readers insight into who you are and what your site will deliver. Share your story, interests, expertise, and motivations for starting the site. Use an engaging yet professional tone that matches your brand and personality.
One of the most important brand-building tasks is writing your first few articles. These initial posts will establish the topics you plan to cover and the style in which you write.
Put effort into writing high-quality, valuable content right off the bat to attract readers. Finding your groove takes time, so don’t worry if it feels awkward at first. Keep writing posts before launch to develop a consistent voice.
With branded visuals and a unique perspective, your new site will stand out from competitors in your niche. Take the time necessary to thoughtfully craft your website’s visual and written brand for maximum impact.

Technical Details and SEO
With your initial content created, it’s time to dive into the technical details and SEO optimization required before launching.
On the technical side, take steps to ensure your site is secure and running smoothly. Add Wordfence free plugin and enable 2 factor authentication to protect your site from hacking.
Test your site speed using tools like Pingdom or Google PageSpeed Insights. Enable caching – Hostinger offers Litespeed caching for free, or if you use a different host, there are many other caching plugins available. Perform quality assurance testing to catch any bugs or broken links before going live.
Search engine optimization (SEO) is also crucial to implement from the start. Submit an XML sitemap to Google Search Console and Bing Webmaster Tools so your pages are indexed for search. If you use RankMath SEO plugin, it creates the sitemap for you. If you aren’t using Google Site Kit, which installs the Google Analytics code automatically, then add the Google Analytics tracking code to monitor key metrics like visitors, sessions, traffic sources, and engagement.
Research relevant keywords and incorporate them naturally into your posts, title tags, meta descriptions, and elsewhere on your site. Produce SEO-friendly content that ranks well organically.
The technical foundation and SEO groundwork you lay pre-launch will pay dividends down the road. Take the necessary steps to launch a high-quality site built for long-term stability, traffic growth, and SEO success.
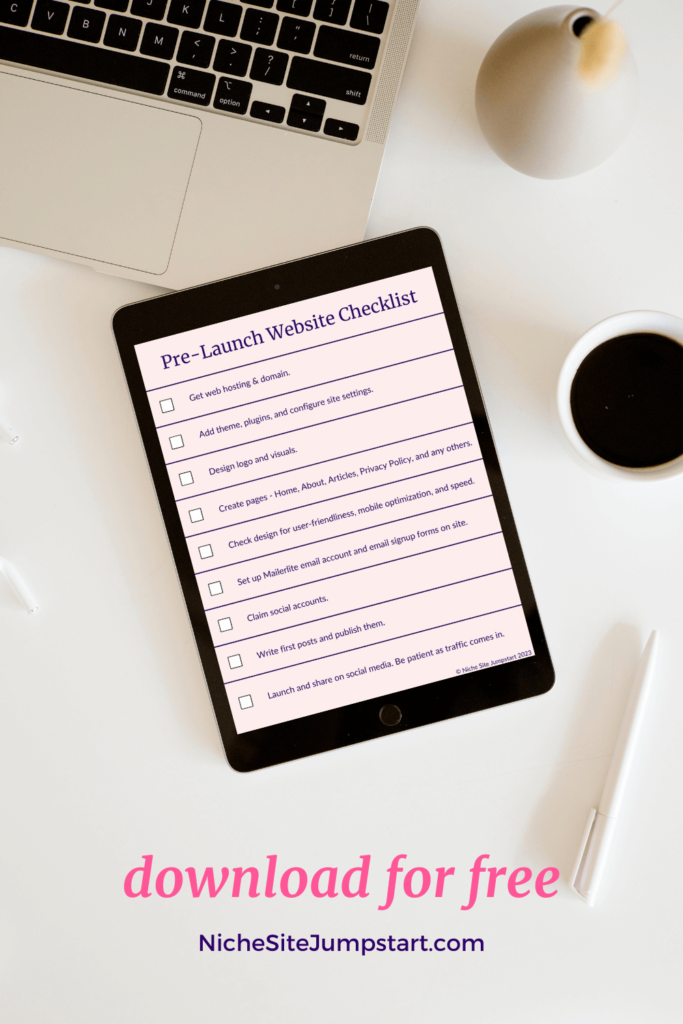
Sign Up and Get a Pre-Launch Website Checklist
Sign up for your FREE copy of a Pre-Launch Website Checklist to kickstart your site’s launch, plus access to other helpful checklists!
Final Launch Preparations
The launch date is fast approaching! Here are some final steps to take leading up to your website going live:
- Perform extensive tests on all your site’s functionality by clicking through pages and flows. Check forms, videos, images, menus – leave no stone unturned.
- Review your pages through different browsers and mobile devices for inconsistencies.
- Back up your site using the Updraft plugin so you have a recent version saved before launch.
- Draft social media posts and schedule them to go out on launch day on platforms like Facebook and Instagram.
Once you launch, monitor your site performance. Don’t be surprised if you don’t have much traffic. It takes time to build up a following, and patience is key!
With thorough pre-launch preparations, your hard work will pay off with a smooth release! Maintain your momentum post-launch by actively promoting your site and delivering high-quality content to grow your readership.

Promote and Spread the Word
The time leading up to your launch is critical for building buzz and spreading the word about your new site. This pre-launch promotion will help drive initial traffic and visitors once your site goes live.
Start by securing social media accounts on platforms like Twitter, Facebook, LinkedIn, Instagram, and Pinterest. Make sure your account names match your site name and brand.
Create link-worthy content and pitch guest posting opportunities to established websites in your industry to land backlinks pointing to your site. These referrals pass “link juice” and help build your SEO credibility.
Develop an editorial calendar and content strategy for your first few weeks post-launch. Queue up social media updates and schedule promotional posts in advance to capitalize on launch buzz.
With a thoughtful promotion strategy, you can build genuine excitement and gain a readership from day one. Pre-launch promotion is a investment that will pay dividends through increased awareness and launch success.
Read Next: The Busy Website Owner’s Guide to Website Maintenance